As a marketing professional (or a regular cell phone user), you’ve probably encountered your fair share of push notifications sent via mobile apps.
Push notifications are handy for alerting your customers to special offers and sending helpful reminders – or simply reminding people of your brand’s existence!
With the potential return on investment (ROI) for push notifications exceeding 2,000%, most businesses would be crazy not to give them a try.
But have you explored all available channels for your push notifications?
While many marketers send push notifications via mobile apps, some are unaware of push notifications on web browsers.
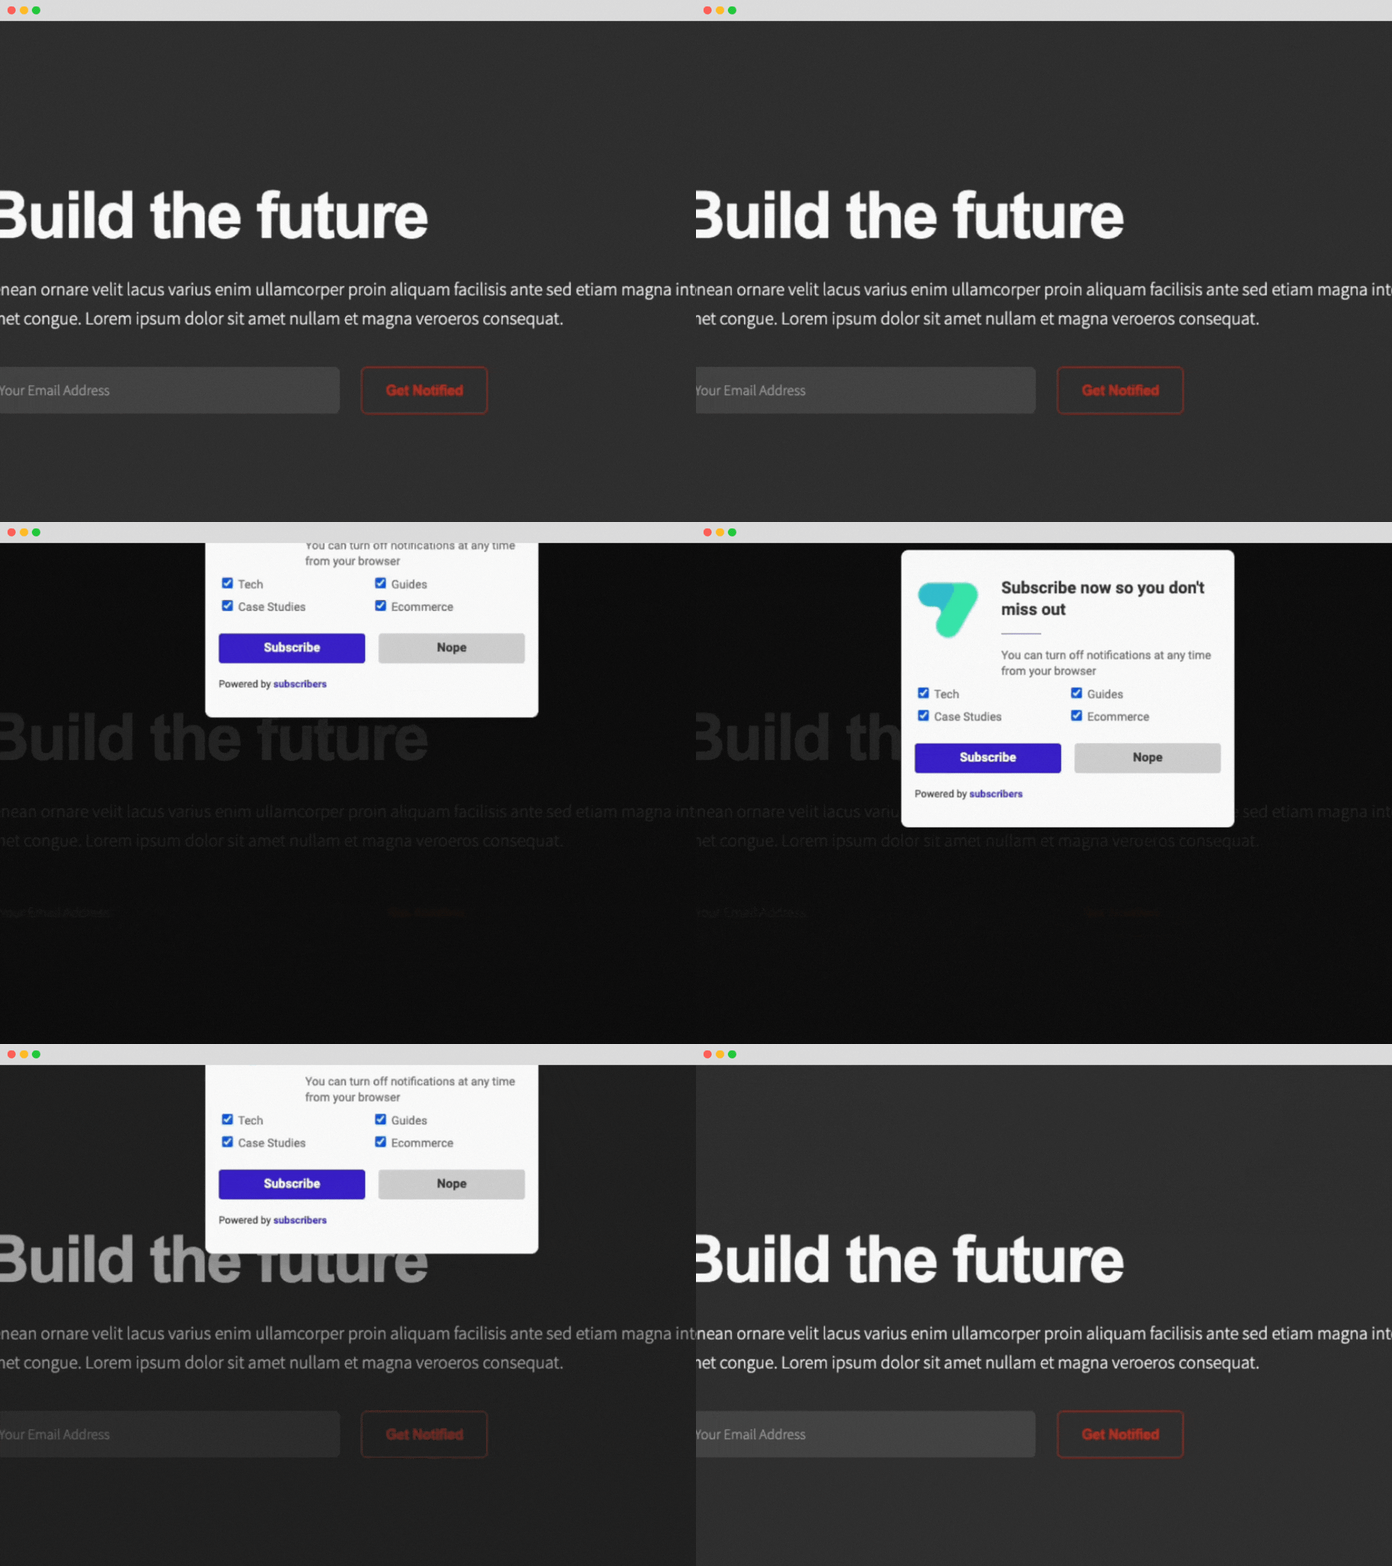
Sending notifications via browsers like Chrome, Firefox and Safari represents a great way to capture web users’ attention and encourage them to complete specified actions.
What’s more, they’re super easy to set up with the help of the services such as Subscribers.
So, if you’re new to the world of push notification on browser, we’ve put together a handy guide to get you started.
What Are You Waiting For?
What is a web push notification on a browser?
Web push notifications are messages sent from a website via a browser.
They arrive directly on-screen, ensuring that web users see them straight away.
Browser push notifications are compatible with all device types, including cell phones, desktop computers, and tablets.

If you’re still feeling a little lost, you’ve probably come across browser notifications if you’re a Facebook user.
When you log into Facebook on a desktop computer using Chrome or Firefox, you’ll see a message in the right-hand corner of the screen asking you to accept or block notifications.
If you accept, all of your Facebook notifications will automatically pop up on your device.
If you get tired of the notifications, you can easily disable them using the platform’s settings.
How are web notifications different to app notifications?
Although web push notifications and app notifications may look similar, there are some vital differences to note, including:
- App notifications are only available to users who have downloaded your brand’s app, while web push notifications are available to everyone who visits your site using a popular browser. Even better, users only have to visit a site once to receive browser push notifications in future – great news for businesses who are yet to develop a mobile application.
- Currently, browsers that can support push notifications include Chrome, Opera, Firefox, and Safari. Businesses may choose to implement notifications for one or more of these browsers – and it’s worth noting that notifications may vary slightly between operating systems and browsers.
- At the moment, iOS (iPhone and iPad) devices don’t support web push notifications, even if users have installed browsers such as Chrome. Android smartphones can display web push notifications, however, and iOS devices may be able to receive push messages in the near future.
- Web push notifications tend to have a wider reach, as it’s quicker and easier to opt-in to browser notifications than download an app.
- App notifications have greater access to device features such as GPS, compasses, cameras, contact lists, etc. The world of push notifications is constantly changing, so web notifications may be more versatile in future.
- Although most web push notifications can support large images, interactive media such as GIFs and audio are only available via app notifications. Again, this could change in future, so watch this space!
As you can see, app and browser notifications come with a range of pros and cons.
As such, equipping your strategic marketing with both options will enhance your chances of success.
What Are You Waiting For?
What do web push notifications usually include?

All web push notifications feature the following elements, regardless of browser or device:
- Title: Most companies simply include the brand name, but you wish to spice it up with a couple more words – or even an emoji!
- Main content: This is the body of the text and should be relatively short. Some browsers allow more words than others, so try to keep it snappy.
- URL: The URL tells users the domain of the web notification.
- Notification icon: This is a small image attached to the notification. Most brands just add their logo, although you may wish to create a new logo using a reliable logo maker and switch it up when promoting special offers.
- Browser icon: The browser icon is the logo of the browser through which you’ve sent the notification. It can’t be altered or hidden.
What kinds of messages can I send via web push notifications?
Brands use browser push notifications for all sorts of marketing reasons.
Here are a few web push notification example messages:
- The transactional message: This is a personalized communication designed to tell customers about important transactions, such as purchases, deliveries, stages of the shipping process, and review requests.
- The promotional message: Why not include a limited promo offer such as “We’re giving you 20% off your first order!” or “Enjoy free shipping by spending $20 with us today!”. This will drive conversions and help you build a customer base.
- The reminder: Personalized reminders about appointment times, expiring subscriptions, or abandoned carts will help forgetful clients complete purchase journeys and could improve your retention rates.
- The educational message: Tell audience members about new products, event launches, and more via push notifications. You could even send personalized messages containing recommendations based on the recipient’s browsing history.
How can I set up push notifications?
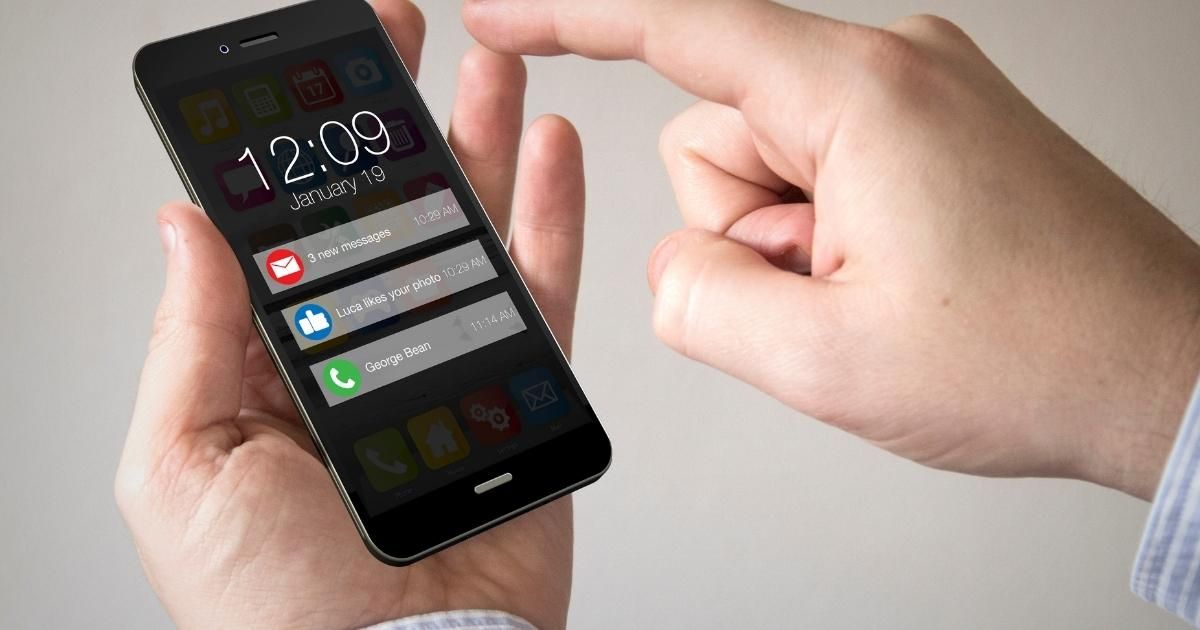
It is possible to set up your push notifications by yourself if you’re a coding whizz.
However, it will take some time, and you’ll need to set up a Service Worker (a scriptable network proxy) before you get to work.
If this sounds like gobbledygook to you, don’t fret – you can easily outsource your web push notifications with a service like Subscribers.
Broadly speaking, you’ll need the following to go ahead with implementation:
- A secure HTTPS website – If your website is HTTP, you may need to create a single HTTPS page to handle push notifications (And to enable HTTPS, there should be an SSL certificate).
- Two or three files, including a JavaScript snippet, a secure bridge domain, and a push-worker.js for installation on the Service Worker (don’t worry if you don’t understand this part – your service provider will guide you through the process).
How should I ask for permission to send notifications?

You’ll need to ask for web users’ explicit permission before you start sending browser push notifications.
When a person enters your site, they should see a dialog box prompting them to ‘Deny’ or ‘Allow’ notifications.
Unfortunately, around 60% of people refuse notifications, so it’s your job to convince them to opt-in.
Here are a few tips for maximizing your subscriber numbers:
- Add a ‘pre-permission’ pop-up that tells users what they could gain by receiving your notifications.
- Present the permission box on pages where users are more likely to accept (e.g., after they’ve purchased an item).
- Only present the permission prompt when the user has scrolled a certain percentage of the landing page – this will ensure you’re targeting engaged visitors.
Get started with web push notifications today!
Are you searching for a simple way to boost user engagement and drive conversions?
Browser push notifications represent a cost-effective tool with excellent potential for ROI.
Reach out to Subscribers today to discuss your needs with our friendly team and make a free account!
